How to Prepare Your Soil for Spring Planting: A Step-by-Step Guide
Spring planting gets all the attention—new blooms, fresh veggies, and that first weekend outside with your gloves on. But the real success of your garden starts earlier, below the surface. Healthy soil helps plants root faster, handle temperature swings, and resist pests and disease. If you take the time to prepare your soil properly, you’ll spend less time troubleshooting later and more time enjoying steady, vigorous growth.
This step-by-step guide walks you through a practical spring soil prep routine you can use for garden beds, raised planters, and even small landscaping areas. Have you ever planted something that looked great for two weeks, then stalled out? Soil structure, drainage, and nutrients are often the reason.
1. Time it right: wait for workable soil
Before you start digging, check if your soil is ready to be worked. If it’s still saturated from snowmelt or spring rains, digging can compact it and ruin the structure you’re trying to improve. A simple test: squeeze a handful of soil. If it forms a sticky ball that doesn’t crumble, it’s too wet; if it breaks apart easily, you’re good to go.
Working soil at the right moisture level protects the air pockets that roots rely on and makes it easier to mix in compost and amendments evenly. If you’re in a colder region, this usually means waiting until the top few inches have thawed and started to dry.
Patience here pays off. Many “hard soil” problems later in the season are actually compaction caused by working wet ground in early spring.
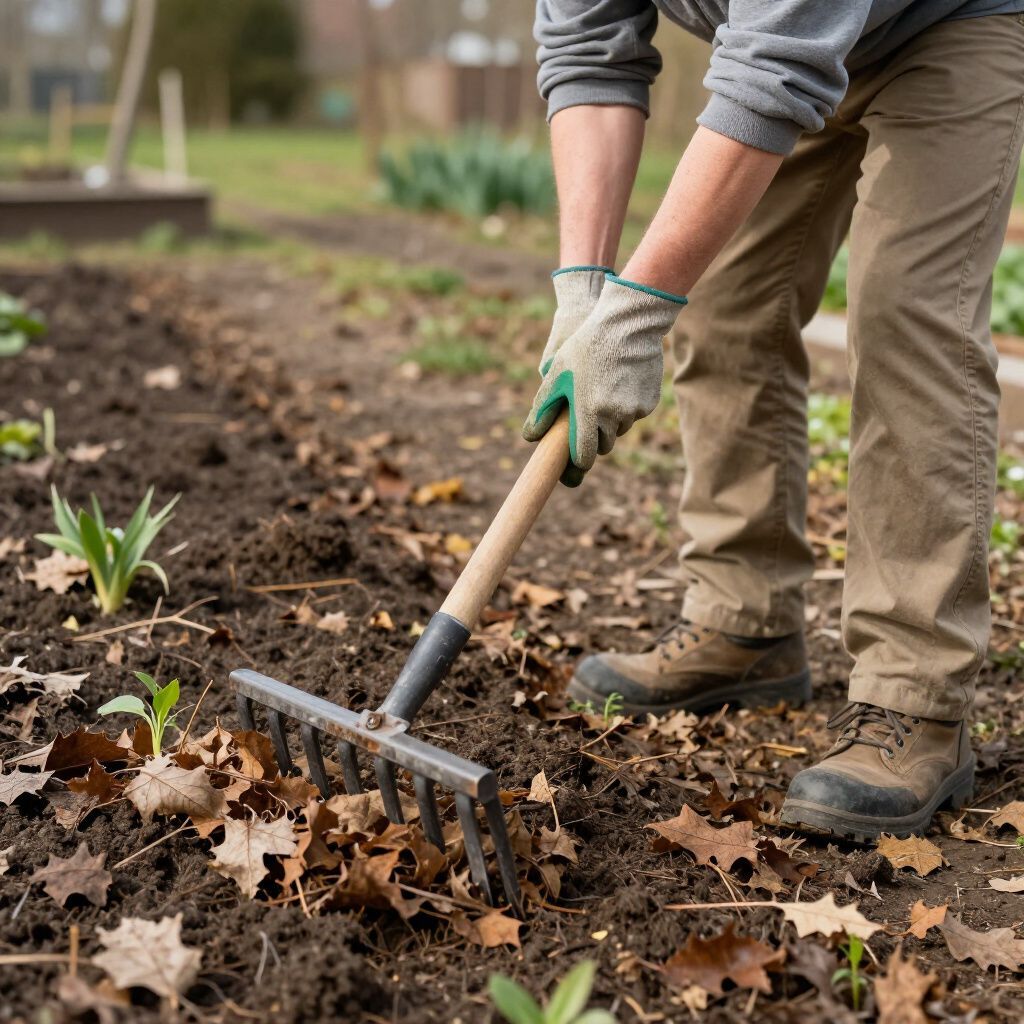
2. Clear the surface: remove debris and leftover plant material
Start by cleaning up what winter left behind—dead stems, matted leaves, fallen branches, and any leftover annuals. Removing debris helps you see the condition of the bed and reduces places where pests and fungal issues can hide.
Some gardeners keep a thin layer of shredded leaves as mulch, but thick mats should be loosened or removed so the soil can warm up. If you’re composting, most healthy plant material can go into the pile, while diseased material should be discarded to avoid spreading problems.
As you clear, take note of any areas where water pooled or plants struggled last year. Those spots often point to drainage or compaction issues you can address in the next steps.
3. Test your soil (or at least observe it)
A soil test is the most reliable way to know what your garden needs. It can tell you pH and key nutrients so you don’t waste time adding the wrong products. If you can, test every couple of years, or whenever you start a new bed.
If you’re not doing a formal test, observe your soil. Is it sandy and dry? Heavy and sticky? Does it crust on top? These clues help you decide what to add. Most gardens benefit from organic matter, but the exact approach differs depending on your soil type.
Question: Are you planting vegetables, flowers, or a mix? Vegetables are typically heavier feeders and may need more targeted nutrient support, especially if you’re planting in the same spot each year.
4. Loosen the soil gently (and avoid over-tilling)
If your soil is compacted, gently loosen the top 6–10 inches. In many beds, a garden fork is better than aggressive rototilling because it lifts and aerates without pulverizing the structure. Over-tilling can break down aggregates and make soil more prone to crusting and compaction later.
In raised beds, you may only need to loosen the top layer and break up any crust. In established perennial beds, be careful around roots and crowns—focus on open areas and add organic matter on top instead of digging deep.
If you hit hardpan or consistently waterlogged areas, consider improving drainage by adding organic matter over time or adjusting grading and bed height. Soil prep is not just about nutrients—it’s also about how air and water move through the ground.
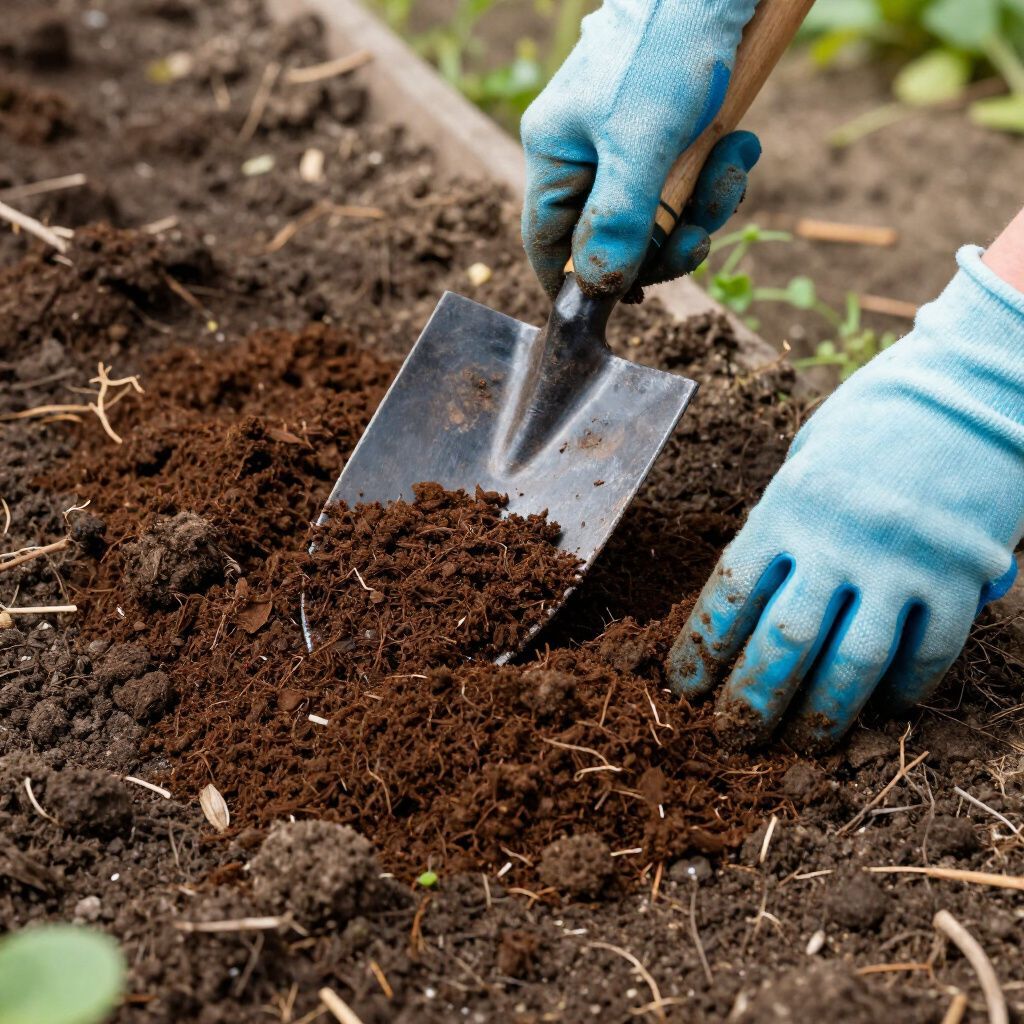
5. Add compost: the foundation of better soil
Compost is the single most broadly helpful amendment for spring planting. It improves soil structure, boosts microbial life, and supports more consistent moisture. Spread 1–3 inches of finished compost over the bed and mix it into the top layer, or top-dress if you’re avoiding disturbance.
Compost helps clay soils drain and helps sandy soils hold water. It also adds slow-release nutrients and improves the soil’s ability to buffer stress. If you’re only going to do one thing, compost is usually it.
Use well-finished compost (dark, crumbly, earthy smell). Fresh or unfinished material can tie up nitrogen and create problems for young plants.
6. Correct pH and nutrients (only as needed)
If your soil test shows pH is off, address it early in the season. Many plants prefer slightly acidic to neutral soil, but the ideal range depends on what you’re growing. Lime can raise pH; sulfur can lower it. These changes take time, so spring is a good moment to start.
For nutrients, a balanced organic fertilizer can be useful—especially in vegetable gardens—but more is not always better. Too much nitrogen can create lush leaves with fewer flowers or fruits. Follow test recommendations where possible and use measured amounts.
If you’re planting heavy feeders (tomatoes, peppers, squash), consider adding targeted amendments like composted manure (well-aged), worm castings, or specific mineral supplements recommended by your test.
7. Level, shape, and plan your beds
Once amendments are added, rake the bed smooth and level it. This helps seeds germinate evenly and prevents water from pooling in low spots. In vegetable beds, shaping slightly raised rows can improve drainage and warming.
This is also the time to plan your layout—where tall plants will go, where paths will be, and where you’ll place irrigation. A few minutes of planning prevents overcrowding and makes maintenance easier later.
Have you decided what you’re planting this spring? If not, sketch a simple plan. Rotating crops and spacing properly can reduce disease pressure and improve yields.
8. Warm and protect the soil (optional, but helpful)
If you’re eager to plant early, you can help soil warm faster by covering beds with breathable fabric, clear plastic (temporarily), or a light mulch after the soil has warmed. The goal is to keep the surface from getting pounded by heavy rains and to reduce temperature swings.
For seed beds, keep coverings light so seedlings can emerge. For transplant areas, a thin layer of mulch can help conserve moisture once plants are established.
Just remember: covering soil too early when it’s still very wet can slow drying, so use this step once the bed is workable.
Conclusion
Preparing your soil for spring planting doesn’t have to be complicated. Wait until the soil is workable, clean up the bed, loosen gently, and add quality compost. Then fine-tune pH and nutrients if needed, level the surface, and plan your planting layout. These steps set the stage for healthier roots, steadier growth, and a garden that performs better all season.
If you’d like help choosing the right soil amendments for your property—or want a spring yard and garden prep plan tailored to your space—tell me what you’re planting and what your soil is like (sandy, clay, or loam), and I’ll recommend next steps.
Share This Blog

Perfect Backyard Patio with Slabs and Pebbles in Between: A Smart, Stylish Choice for Brampton Homes